
如何創建 OpenAPI Authentication for Wonder Payment Integration
應用程式識別碼生成
產生新的應用程式識別碼
- Go to your store in Wonder Dashboard (hq.wonder.app) and select "Open Api Credentials" under "Settings".

- Click on "Generate New APP ID", and paste your FULL PUBLIC key (Starting with BEGIN PUBLIC KEY and ending with END PUBLIC KEY).

- Click "Upload", the AppID and Webhook Public Key would be generated. Please keep your Webhook Public Key (Starting with BEGIN PUBLIC KEY and ending with END PUBLIC KEY) well securely documented as you will not be able to reveal it anymore at all on any Wonder platform. Your Webhook Public Key can be used to verify the RSA private key signed to any integrated webhook sent to you.

- From your Dashboard view, you can check your AppID, the status for its status and the generated time, and delete any of it, but please note the delete operation will be irreversible.
Webhook 目的地設定
提交新的 Webhook 目的地
- Go to your store in Wonder Dashboard (hq.wonder.app) and select "Open Api Credentials" under "Settings".
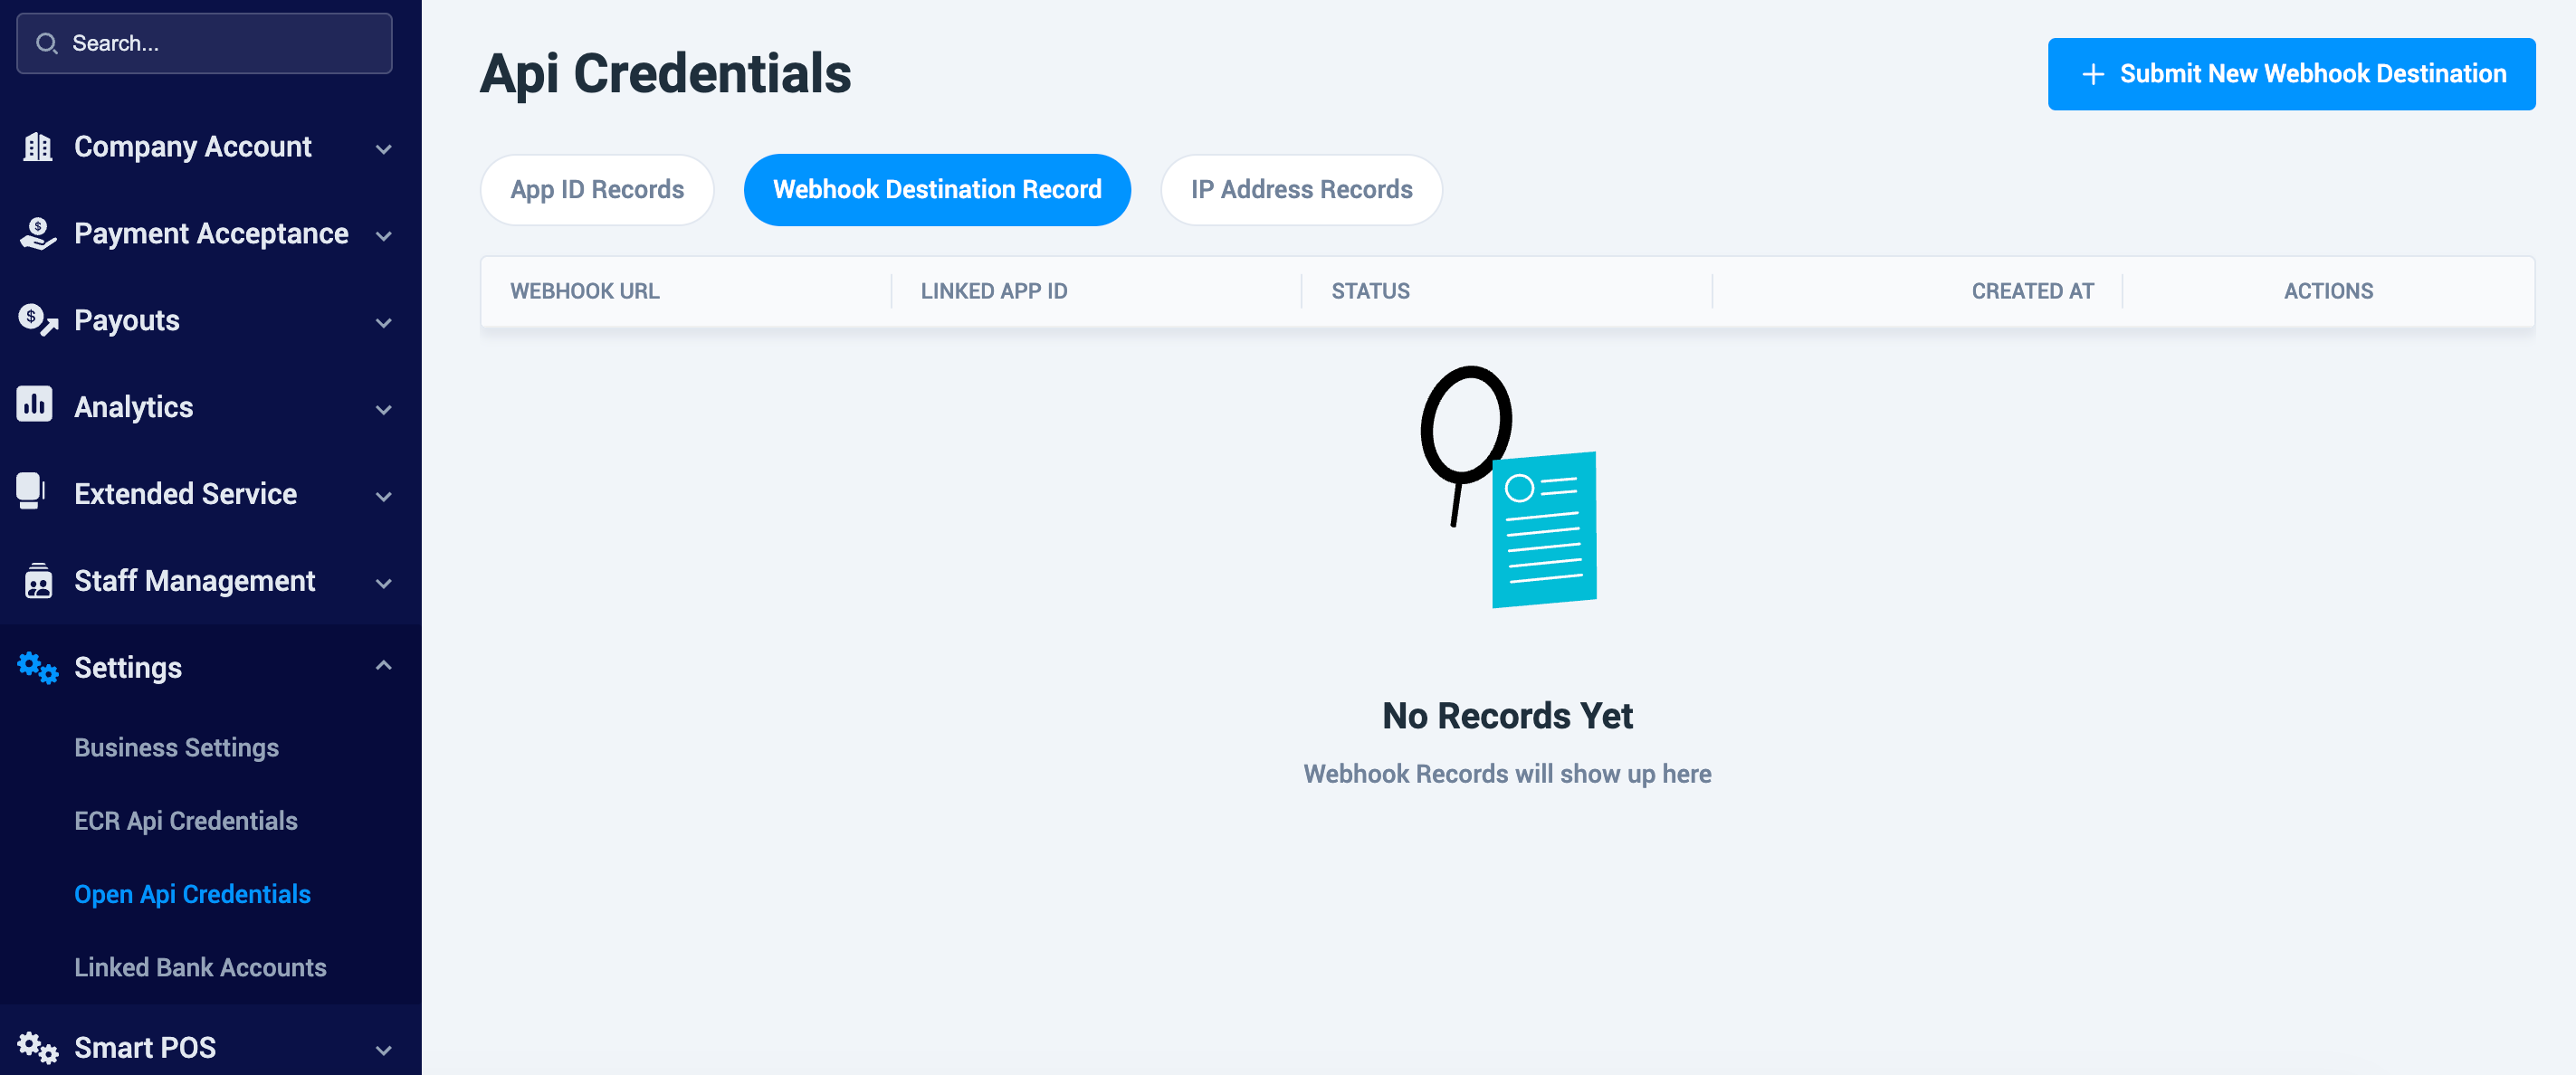
- Click on "Submit New Webhook Destination", and fill the Webhook URL and select Linked App ID, then upload, your webhook destination request will be submitted.


- Please note only you have Active App ID records, then you can submit new webhook destination; and one store only can have one Active webhook destination, if you want to change to another webhook destination, only can delete the existed webhook destination record first. All notifications (Create Order API, Customer API, Recurring Payment API) will be sent to the same webhook destination.
IP位址設定
建立新IP位址
- Go to your store in Wonder Dashboard (hq.wonder.app) and select "Open Api Credentials" under "Settings".

- Click on "Create New IP Address", and fill the IP Address & Label and select Linked App ID, then upload, your IP Address request will be created.

